Keto and low-carb recipes!
Dreaming of truly delicious keto friendly recipes? You’ve come to the right place. I’m conjuring up low carb and sugar-free dishes that rival your old favorites. Everything from easy flavorful dinners to gorgeous keto desserts. Make keto fun again!
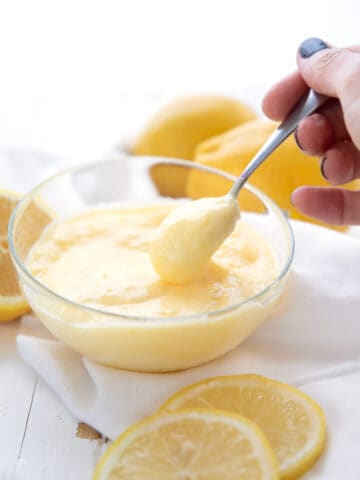
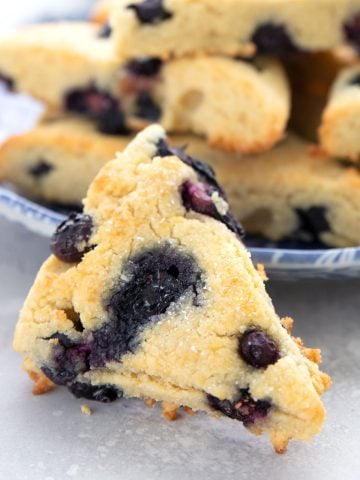
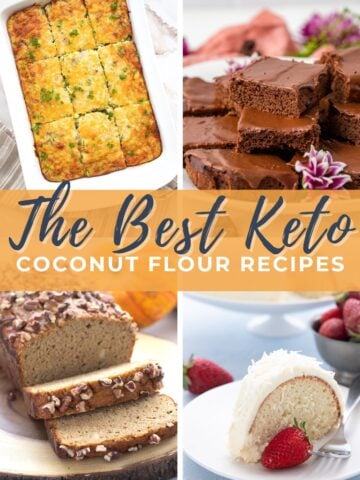
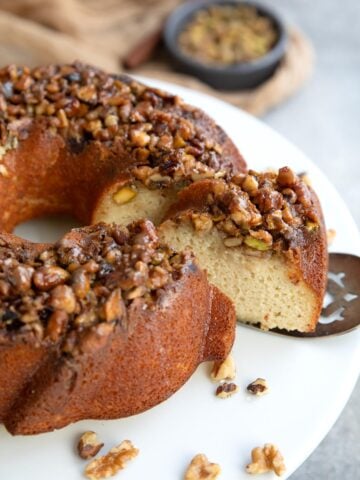
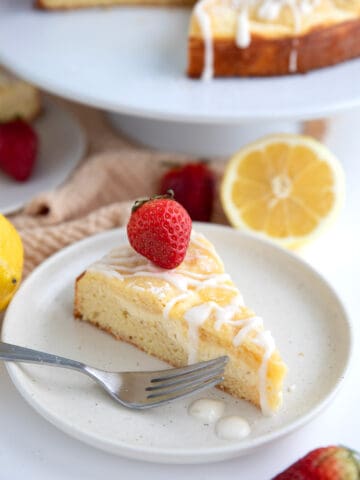
Spring Fling!
Spring is in the air. Enjoy these fresh keto recipes.
See more keto recipes →
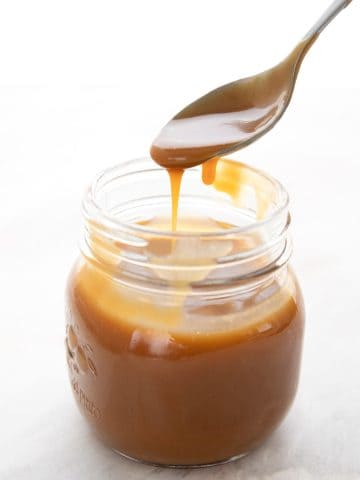
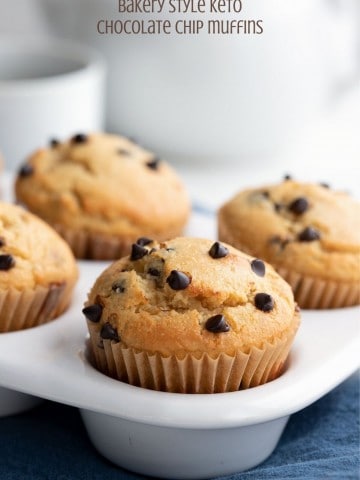
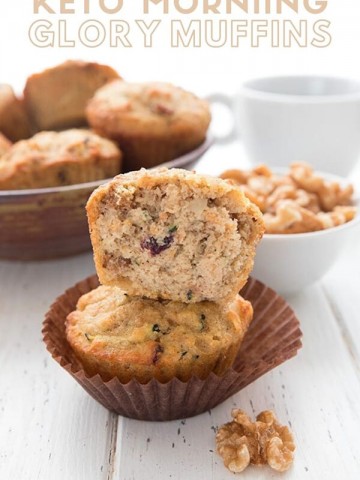
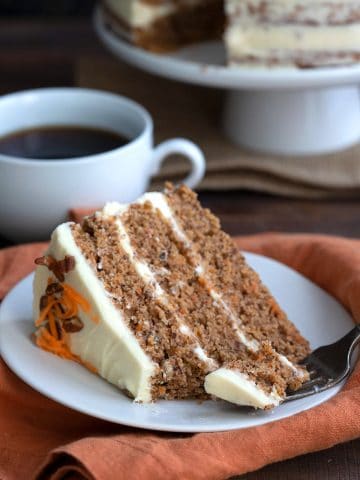
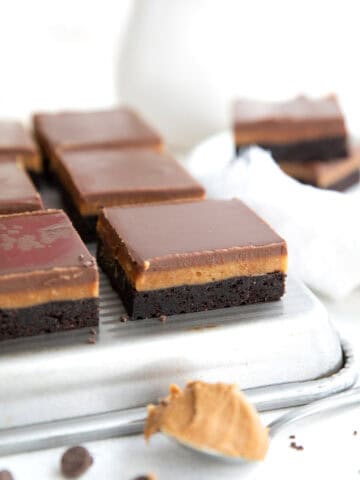
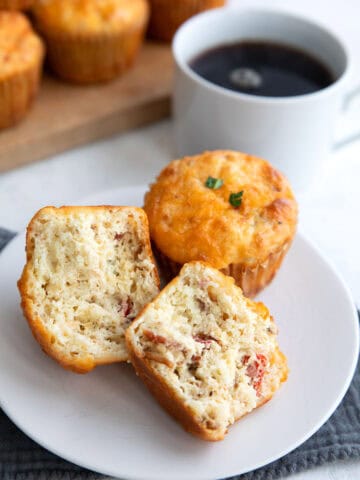
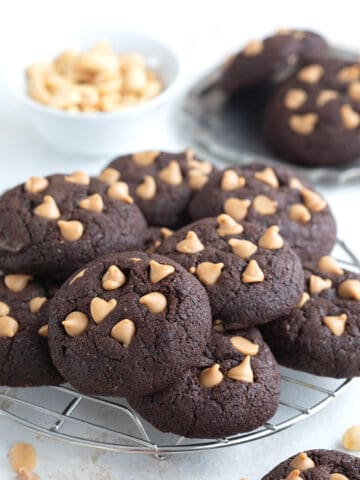
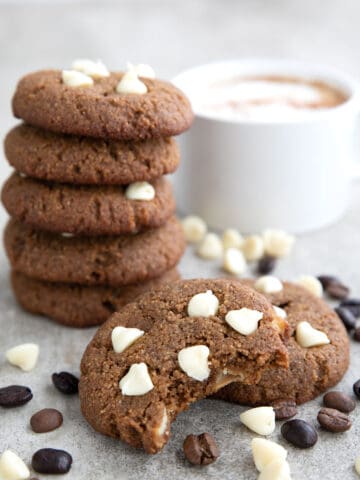
Latest recipes
Hot off the presses! Check out all the latest and greatest keto recipes here.

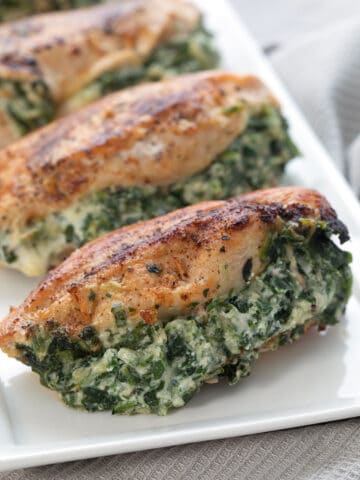
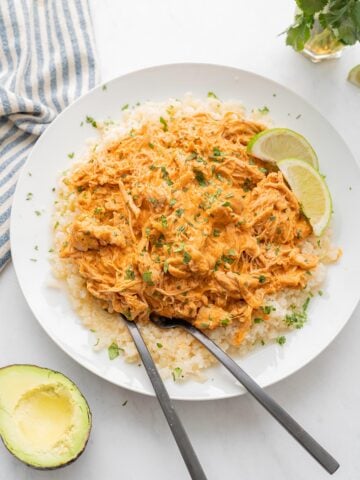
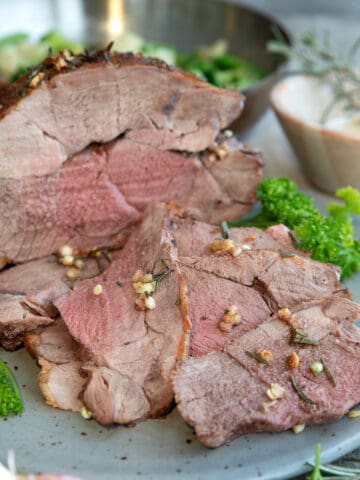
Main Dishes
Easy keto dinner recipes for your dining pleasure.
See more main dishes →
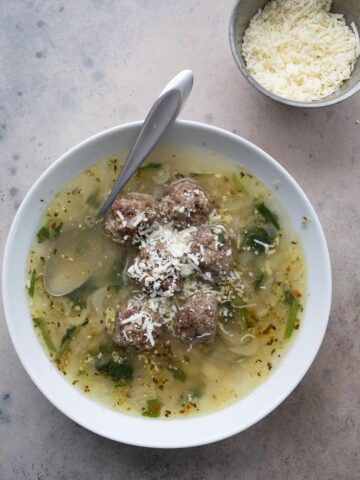
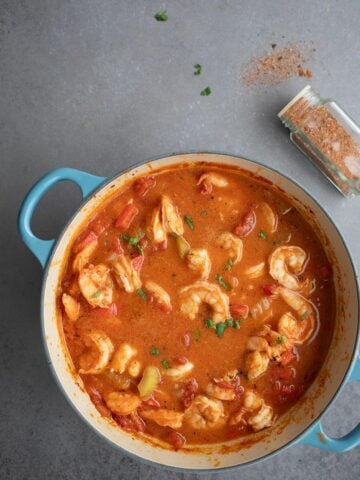
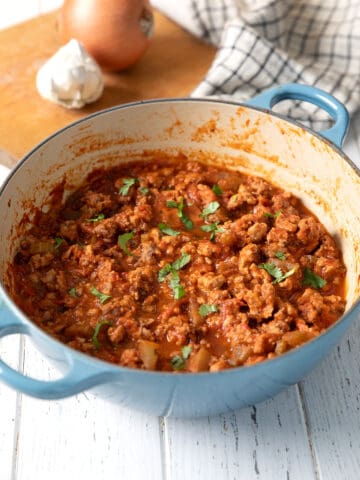
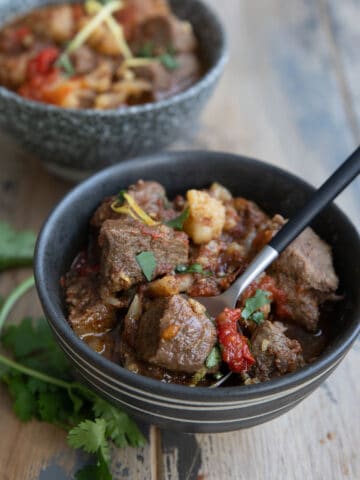
Soups and Stews
It’s getting chilly out there, but you can stay warm with these delicious keto soup recipes.
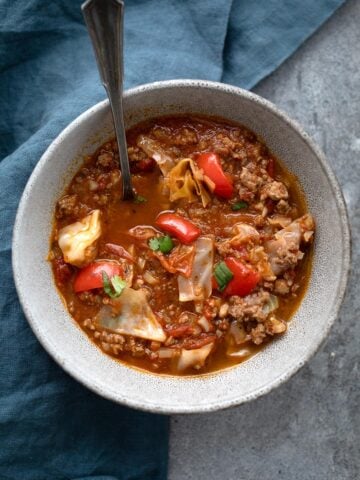
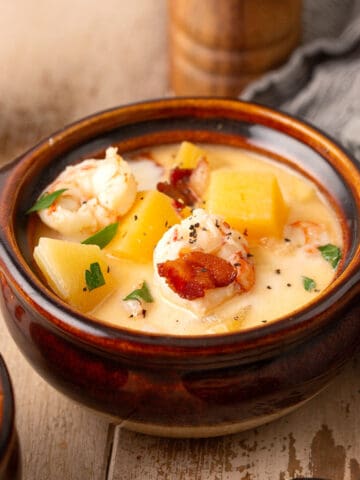
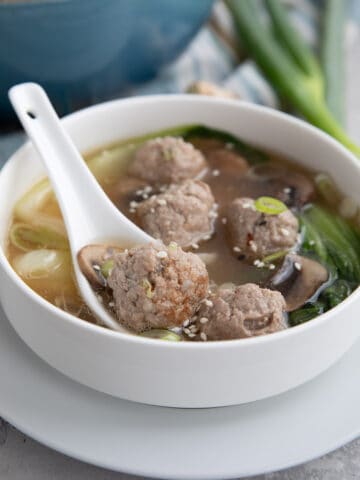
See more soup recipes →
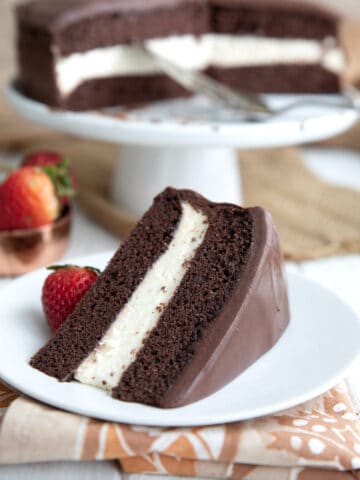


Hiya, keto friends!
I’m Carolyn, cookbook author, photographer, and unrepentant sweet tooth, I am devoted to creating delicious and innovative low carb recipes that don’t sacrifice on flavor. Keto has never been more delicious!